How to Sand Metal: A Complete Guide

Sanding metal isn't just about smoothing surfaces; it's a crucial step in preparing metal for finishing, painting, or even welding. Understanding how to sand metal is foundational for achieving a flawless finish that not only looks professional but also protects against corrosion and wear. This process eliminates imperfections, levels surfaces, and enhances paint adhesion, making it an indispensable part of metalworking. Whether you're restoring a vintage car, creating jewelry, or fabricating parts, mastering this technique is essential for success.
In this article, we will explain what you need to sand metal and the key steps to follow to get the perfect finish.
Choosing the Right Tools for Sanding Metal
Finding the right tools for sanding metal by hand is crucial for achieving the best results. The ideal tools for the job should offer precision, comfort, and durability, ensuring that every sanding task, no matter how detailed, is done efficiently and effectively.
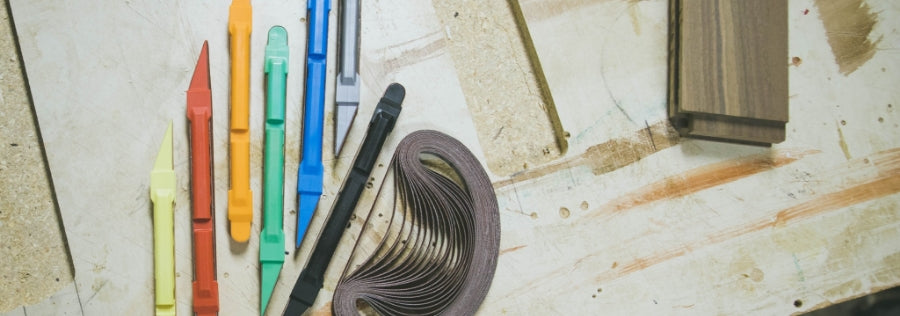
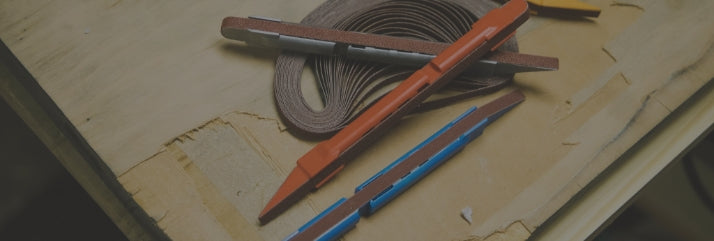
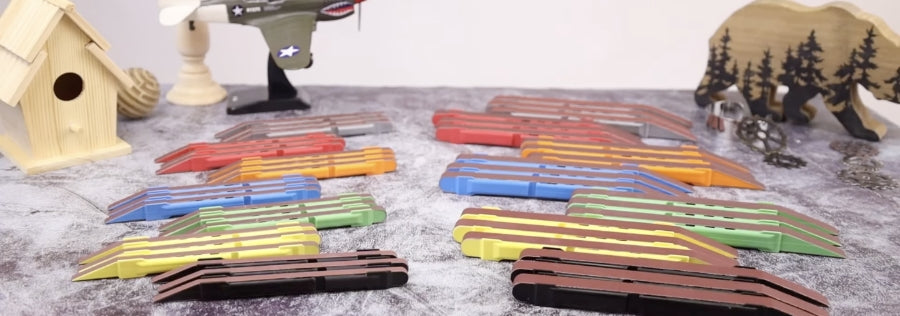
Lumberton Industries' Sanding Detailers epitomize these qualities, making them the premier choice for both professionals and enthusiasts. Their ergonomic design and superior manufacturing facilitate comfort during use and guarantee a level of finesse in detailed sanding tasks that is unmatched. Selecting the most appropriate tools lays the foundation for success in any metalworking endeavor.
For the best way to sand metal, consider adding these essential tools to your kit:
- Sanding Detailers for precision work
- Hand files for shaping and smoothing edges
- Orbital sander for larger surface areas
- Sanding blocks for even pressure distribution
- Fine grit sandpaper for finishing touches
Discover the ideal tool for your next project by exploring our sanding kits.

Step-by-Step Guide to Sanding Metal
Sanding metal is a task that requires both precision and patience, but with the right approach, it can lead to exceptional results. Whether you're preparing a surface for painting or looking to create a fine, polished finish, the process of sanding metal is fundamental. Following a methodical step-by-step guide on how to sand metal ensures a smooth, flawless finish on your metal projects.
Here's how to get started.
Clean the Metal Surface
Thoroughly clean the metal to remove any debris, oils, or rust. This ensures that the sanding process is effective and efficient.
Select the Appropriate Grit
Start with a coarser grit of sandpaper to remove major imperfections and gradually move to finer grits to achieve a smooth finish.

Sand in One Direction
To avoid crosshatching and achieve a uniform finish, always sand in one direction. This technique is crucial for maintaining the quality of your work.
Wear Safety Gear
Protect yourself against dust and particles by wearing appropriate safety gear, including masks and gloves.
Utilize Lumberton’s Sanding Detailers
For those detailed and hard-to-reach areas, sanding metal by hand becomes more manageable with Lumberton's Sanding Detailers, which provide precision and ease.
Ensure Proper Ventilation
Keep your workspace well-ventilated to avoid inhaling any harmful particles.
FAQs
For many, metal sanding can introduce a variety of questions, particularly when it comes to selecting the right sandpaper. This section aims to demystify these concerns, offering you the knowledge needed to proceed with confidence in your metal sanding tasks.
What Grit Sandpaper Should I Use for Metal?
Choosing the right sandpaper grit for metal depends on your project's specific requirements. Start with a coarser grit of around 80-120 to remove rust or old paint. This initial step helps eliminate substantial imperfections. Switch to a finer grit like 220-400 for a smoother finish. This range polishes the metal, leaving a refined surface ready for further processing or finishing.
What Sandpaper Should You Use for Rough Metal Surfaces?
To tackle rough metal surfaces, begin with a lower grit sandpaper, such as 60-80. This coarser selection efficiently smooths out significant blemishes, preparing the metal for subsequent finer sanding. It's an effective strategy for ensuring that the metal surface becomes more uniform and ready for further detailing or finishing.
Can I Use the Same Sandpaper for Metal as for Wood?
Although similar grits may be used for both materials, metal-specific sandpaper, typically made from aluminum oxide or silicon carbide, is more durable and effective for metal surfaces. These materials are hard and sturdy, designed to tackle the challenges of metal sanding without wearing down quickly.
How Do I Avoid Scratching the Metal While Sanding?
To minimize scratching, apply even pressure and consider starting with higher-grit sandpaper if the metal surface is only mildly rough. Sanding in the direction of the grain also helps reduce the appearance of scratches. It's crucial to match the sandpaper's grit to the task, using coarser grits for removing material and finer grits for polishing and finishing.
Is Wet Sanding Better for Metal?
Wet sanding is advantageous for metal as it helps minimize dust and can achieve a finer finish, particularly with higher-grit sandpaper. This method is especially useful for detailed work or when aiming for a highly polished surface. Wet sanding keeps the work area cleaner and reduces the heat generated from friction, which can be beneficial for certain metal types.
Get the Perfect Finish With Lumberton
Every metalworking project deserves the best possible start and finish. That's where Lumberton Industries comes in, offering a range of sanding tools that blend innovation with efficiency. Now that you know the best way to sand metal, you can understand how important Lumberton can be to your projects. Our commitment to quality ensures that your projects shine with excellence.
From detailed craftsmanship to robust metalworking, our tools are designed to support your creative journey every step of the way. Keep your sanding detailers in top condition with our replacement belts. Join the ranks of satisfied craftsmen who trust Lumberton Industries for their metalworking needs.


